
Battles of Manassas • Tour the Battlefield • Monuments • The Armies
The Stone Bridge wayside marker is next to the parking area beside the Stone Bridge, at Stop 12 (map) of the Manassas Battlefield Driving Tour.
From the wayside marker:
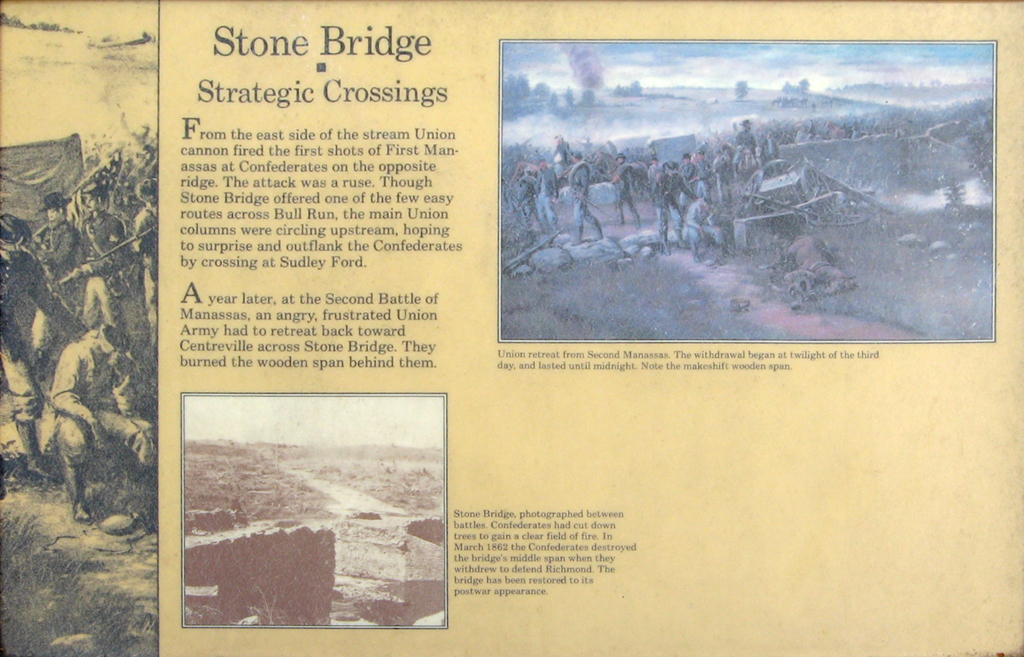
Stone Bridge
Strategic Crossings
From the east side of this stream Union cannon fired the first shots of First Manassas at Confederates on the opposite ridge. The attack was a ruse. Though Stone Bridge offered one of the few easy routes across Bull Run, the main Union columns were circling upstream, hoping to surprise and outflank the Confederates by crossing at Sudley Ford.
A year later, at the Second Battle of Manassas, an angry, frustrated Union Army had to retreat back toward Centerville across Stone Bridge. They burned the wooden span behind them.
From the caption to the drawing on the upper right:
Union retreat from Second Manassas. The withdrawal began at twilight of the third day, and lasted until midnight. Note the makeshift wooden span.
From the caption to the photo at the bottom:
Stone Bridge, photographed between battles. Confederates had cut down trees to gain a clear field of fire. In March 1862 the Confederates destroyed the bridge’s middle span when they withdrew to defend Richmond. The bridge had been restored to its postwar appearance.
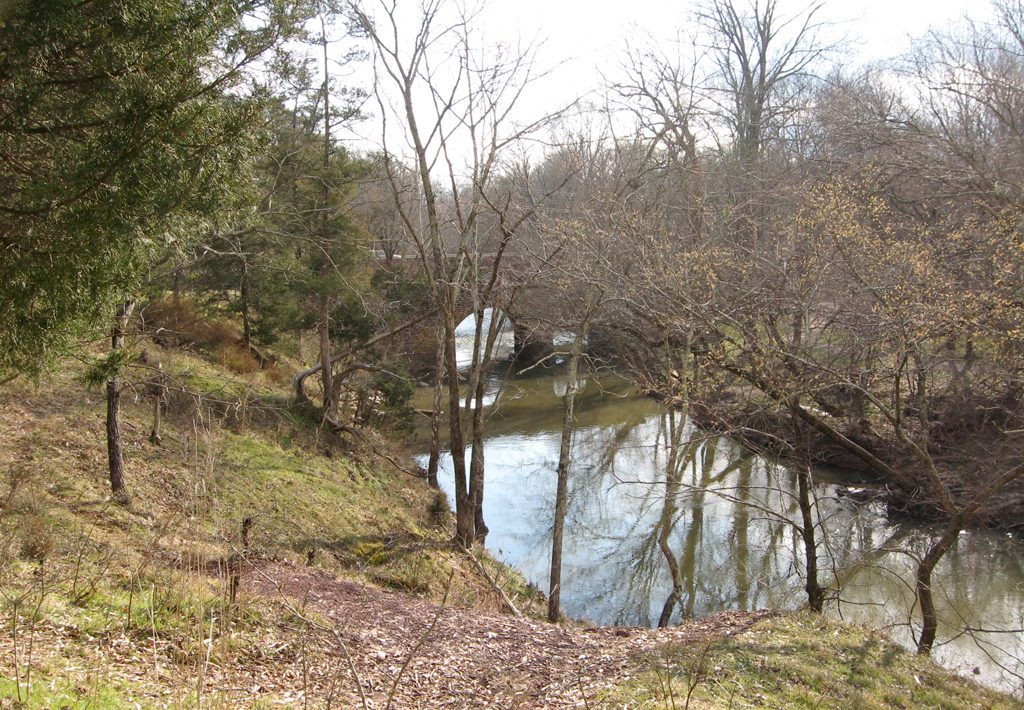
Looking downstream from the east bank of Bull Run at the Stone Bridge.
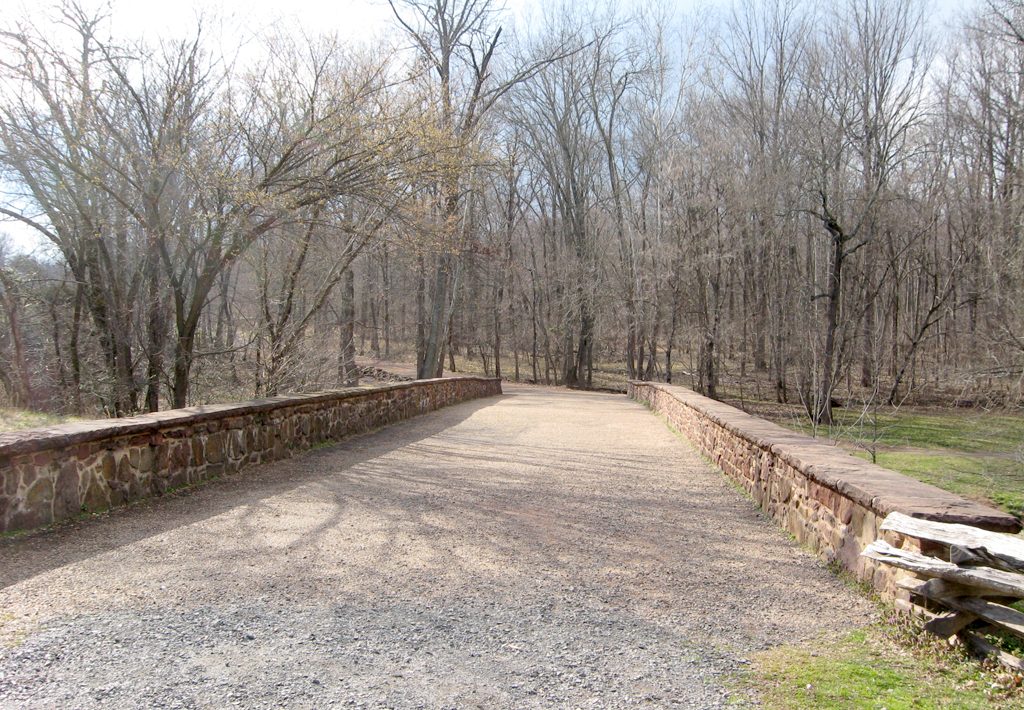
Looking west across the restored Stone Bridge.